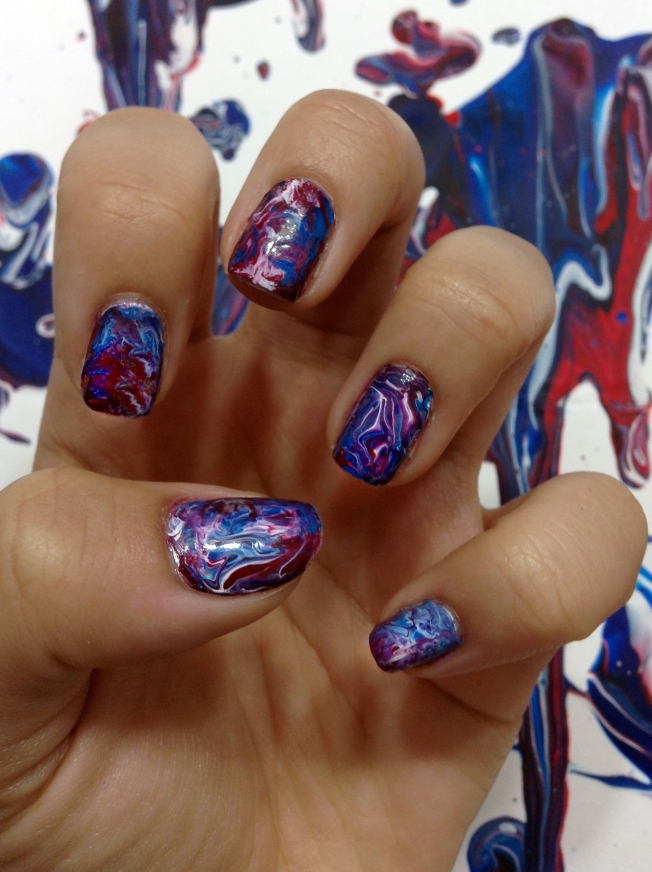
When I did this I wasn’t looking to create a water marble look, it was just a happy accident that it turned out like this. I was inspired by my Visual Literacy Class at Uni, where we we doing tonal painting and exploring different techniques. Of course I got paint all over my hands and it stuck to my nails in half mixed swirls, which kind of looked cool but it was all brown coloured. So I decided to try to recreate the look with better colours!
I chose Red, Blue and White because I had previously done a drip paining (the painting in the background)that has the same kind of look i wanted. Doing this was really quite easy and if you’re careful you won’t have much cleaning up to do. So, I put a small dab of each polish on different parts of my nail, it doesn’t have to be perfect at all sine you’re going to mix it all up. I then used my homemade dotting tool, that I’ve talked about previously, to gently mix the polish around in circular motions until my whole nail was covered. Be careful not to over do it because then the polish will just mix into one colour and you will lose the swirly effect.
Once your done with all of your nails, you may need to clean up any excess nail polish that’s gotten on your skin around the nail. Usually if you do water marble nails you have to tape up your finger to avoid getting polish all over them or if you don’t you have to clean so much off and I find that really frustrating so I think it’s really great that you can get a similar effect without so much mess. I just use a cotton bud that you normally use for you’re ears with a bit of nail polish remover and gently swipe around my nails to get rid of the little pesky bits of polish. Then you can apply a top coat to protect your design and you’re done!

Great idea, thank you!
Pingback: NOTD- Water marbling! |